In this article, you will learn how to change the height of the individual elements and which values you can use. You can also change the row height in your list to display longer content.
IN THIS ARTICLE:
- How to define heights
- Changing the height of an element
- Changing the row height in a list
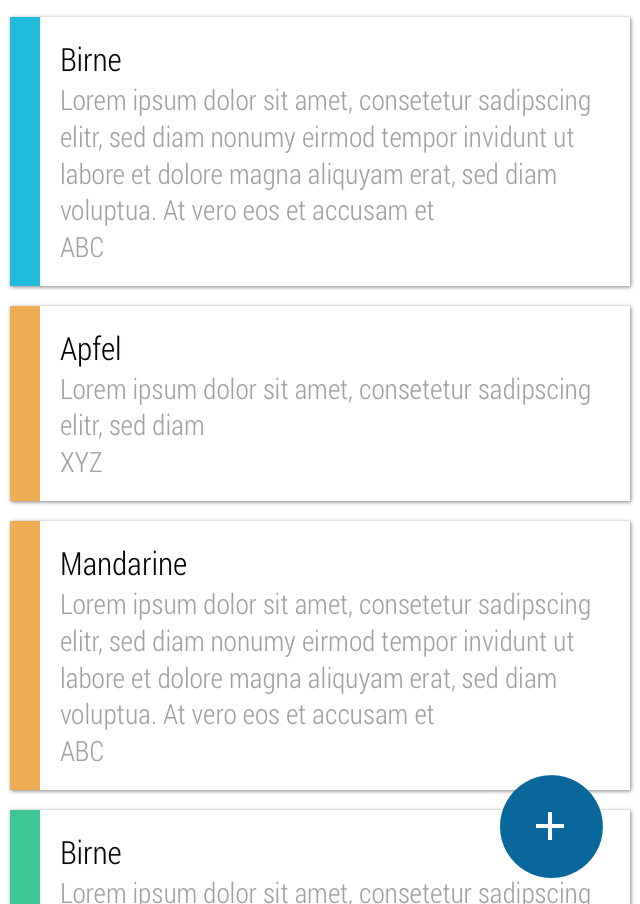
- Card height in the card list
You can define the height of an element in three different ways. (Be careful not to use commas.)
- Percentage (% of screen size)
- Fix value in pixels
- Weighted height
The different definitions can be viewed in this app: https://www.openasapp.net/portal#!/client/app/4cbccffd-0635-4ab6-8e6b-bdca0dd9c41a.
Percentage
The percentage is dynamic because the item height is set according to the screen size of the device on which the app is opened.
The height of an element in percentages is the most widely used variant. The sum of all the elements of your app can be more than 100%.
The height is entered as follows: 10%
Fix value in pixels
You can assign a fixed value to an element in pixels. The element then has a fixed height, which is not dependent on the screen size.
The height is entered as follows: 100
Weighted height
This method is mainly used for apps containing only a few elements.
When using weighted heights, the elements are displayed in dependence on each other and will always fill the device screen.
This means that your elements can all be viewed on the screen without having to be scrolled.
In this method, it is important to specify all elements at a weighted height. Avoid mixing high-definition, e.g. element A in pixels, element B in%, and element C in weighted height.
Example: Element B should always be twice as large as Element A. Both elements are always visible on the display and fill it to 100%.
In this case, assign the height of element B to 2*. Element A gets the size 1*.
If you add a third element with the height specification 3* (three times as high as 1*), the heights of A and B would automatically adjust accordingly.
The height is entered as follows: 1*
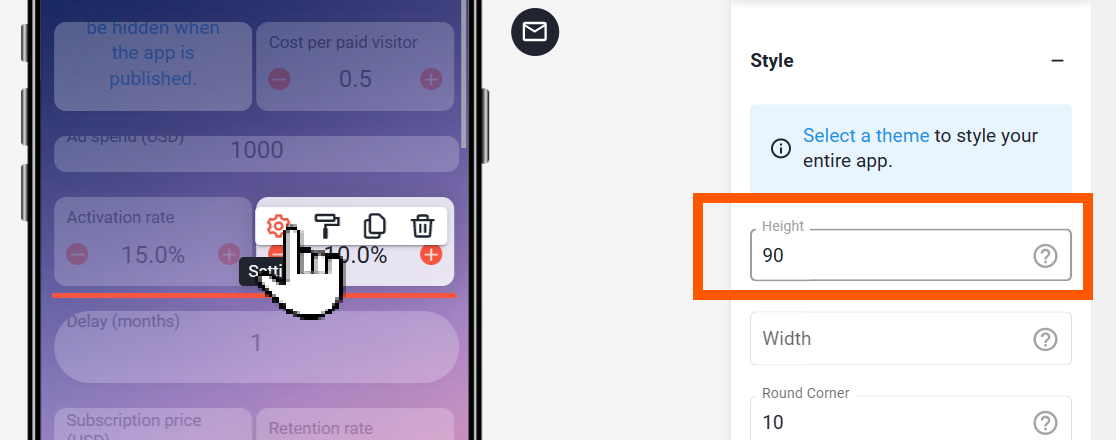
CHANGING THE HEIGHT OF AN ELEMENT
The procedure for changing the height of the individual elements is almost the same for all elements of an app.
- Open the editor for the element.
- Navigate to the "Style" section.
- Enter the desired value.
In addition to the height of the list, you can also change the row height within the list.
If the list is the only element on a page, then the list is always stretched to the total available area - regardless of which value is set as height.
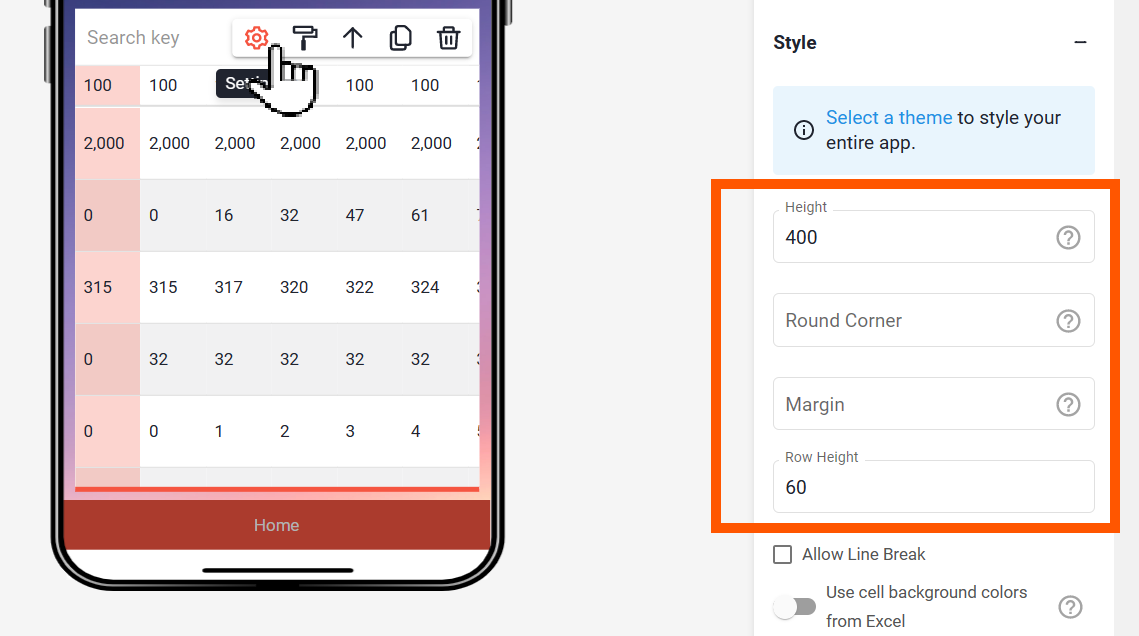
To edit the row height of your list, proceed as follows:
- Open the list editor.
- Navigate to the "Style" section.
- Set the value for the height of the rows.
The row height can only be specified as a fixed value in pixels. For example 60.
The height of the individual cards in a card list is automatically calculated according to how long the text in the selected list columns is.